

Most food photography tips start with gear: which camera, which lens, which light. That’s useful, but it skips the question that actually slows recipe bloggers down: what do I need to photograph for this post, and how many shots is enough?
If you’ve ever finished a cook and found forty nearly identical pictures of the finished dish and nothing showing the process, or the reverse, you already know the problem. The fix isn’t a better camera. It’s a shot list.
Below is the structure we use when we build photo sets for recipe posts, plus the lighting, angle, and file tips that make each shot do its job. (If your problem is bigger than photos, start with why zero-click search is eating recipe traffic and how a content cluster helps.)
A recipe post has several jobs, and each job needs a different kind of image. The featured image has to win the click from search, Pinterest, and Discover. The process photos have to help someone actually cook the recipe, and show that you did. The ingredient photo sets expectations before anyone reads a word.
Shooting everything as a “pretty finished dish” leaves most of those jobs undone. Of all the food photography tips we could give you, this one saves the most time: a shot list turns a messy shoot into a checklist you can run in the same order every time, and once it’s a habit, shoots get noticeably faster.
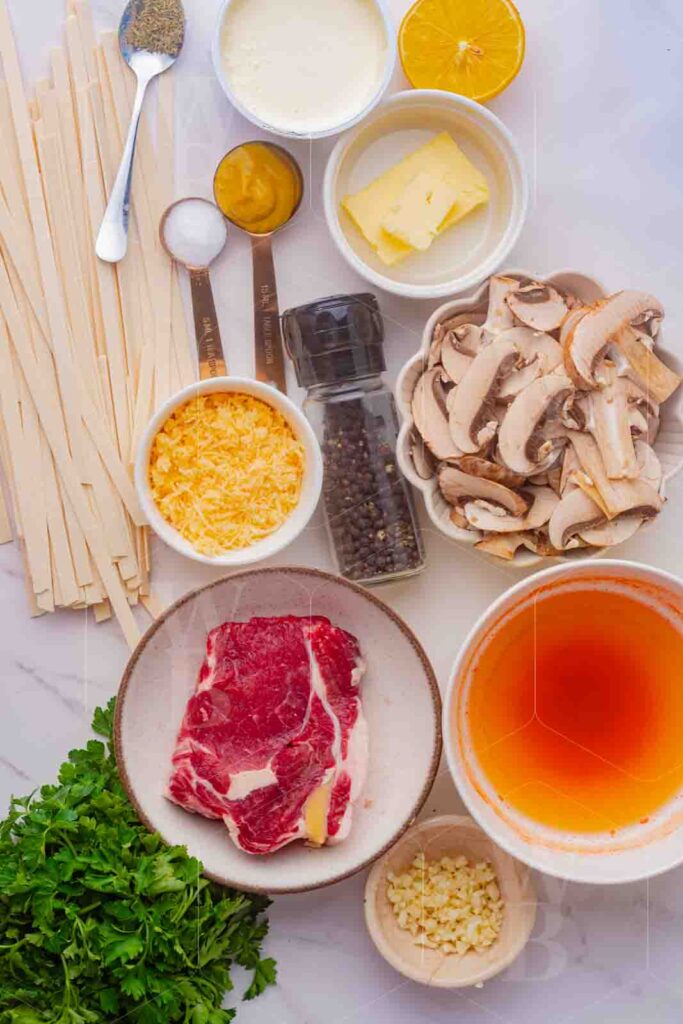
In the exclusive recipe sets we sell, every post ends up with the same three layers. One of our pasta sets has 2 ingredient shots, 14 process shots, and 25 hero shots. A recent wings set has 1, 9, and 23. The exact numbers change with the recipe. The structure doesn’t.
One clean photo of everything that goes into the recipe, laid out so a reader can check their pantry at a glance. Overhead works best because nothing hides behind anything else. Group similar items, keep the layout loose and tidy, and leave out anything that isn’t actually in the recipe, because readers will count. This also gives you a ready-made image for the ingredients section and for pins.
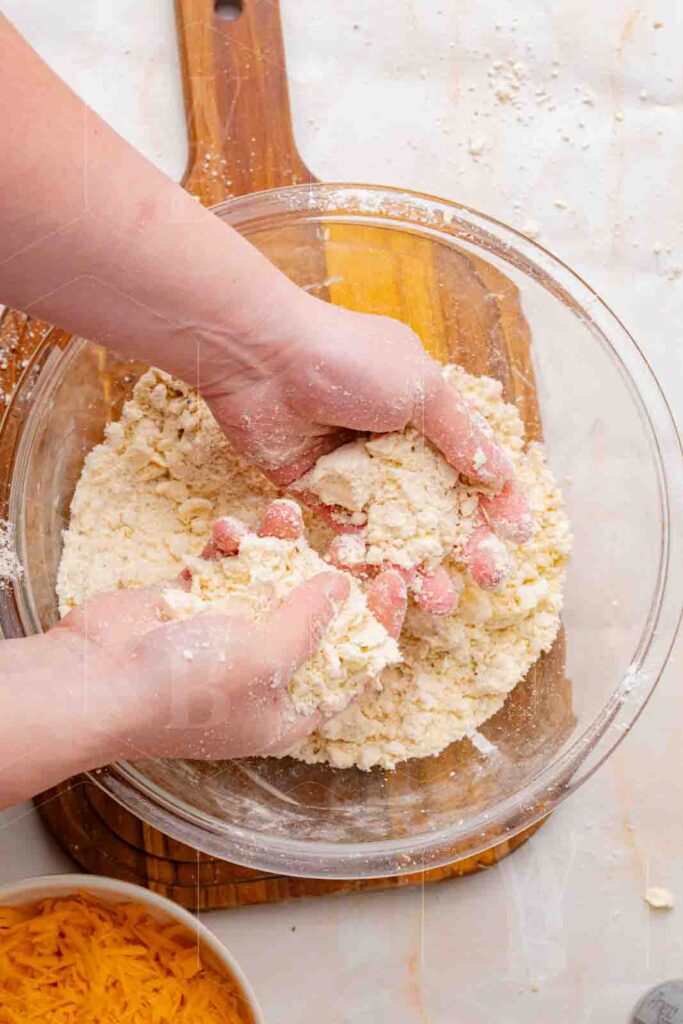
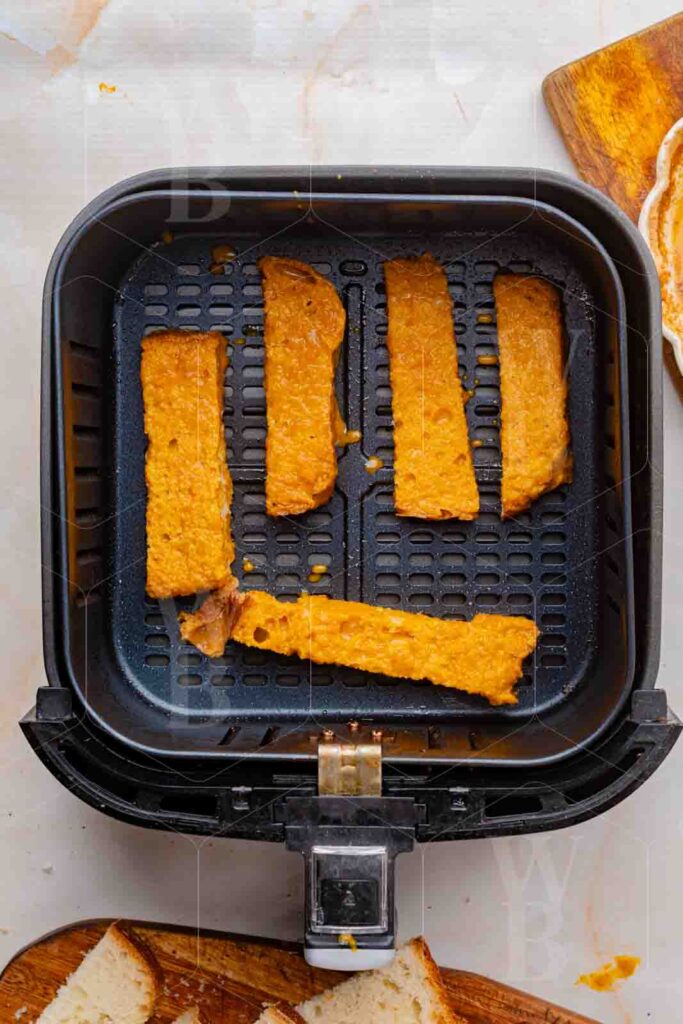
One image for each step where a reader might wonder “does mine look right?” Not every stir, just the moments that matter: the texture after mixing, the color of the sear, the stage before the oven, the cut that shows the inside.
These do two things at once. They make the recipe easier to follow, and they’re visible proof that you really cooked it, which matters as search engines lean harder on signs of first-hand experience. Shoot them during the cook instead of staging them afterward, in the same light and on the same surface as your hero shots so the post looks consistent. Hands in the frame are fine, and often better than none.
The finished dish, shot in different ways so you have the right image for every placement: the featured image, a Pinterest pin, the recipe card, and a few to break up the post. Variety is the point:
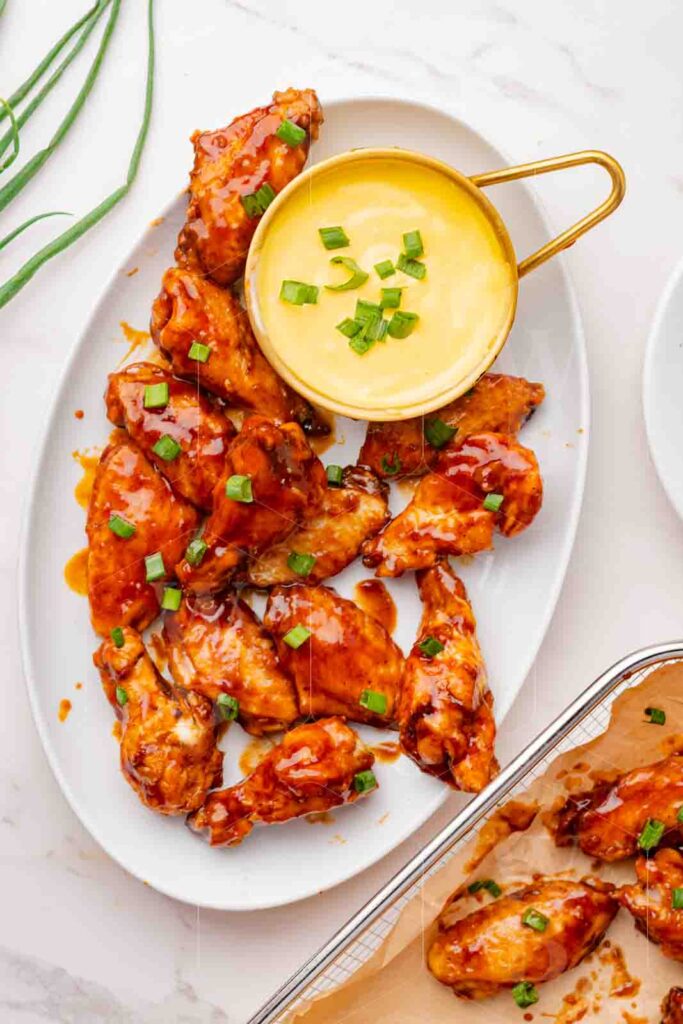
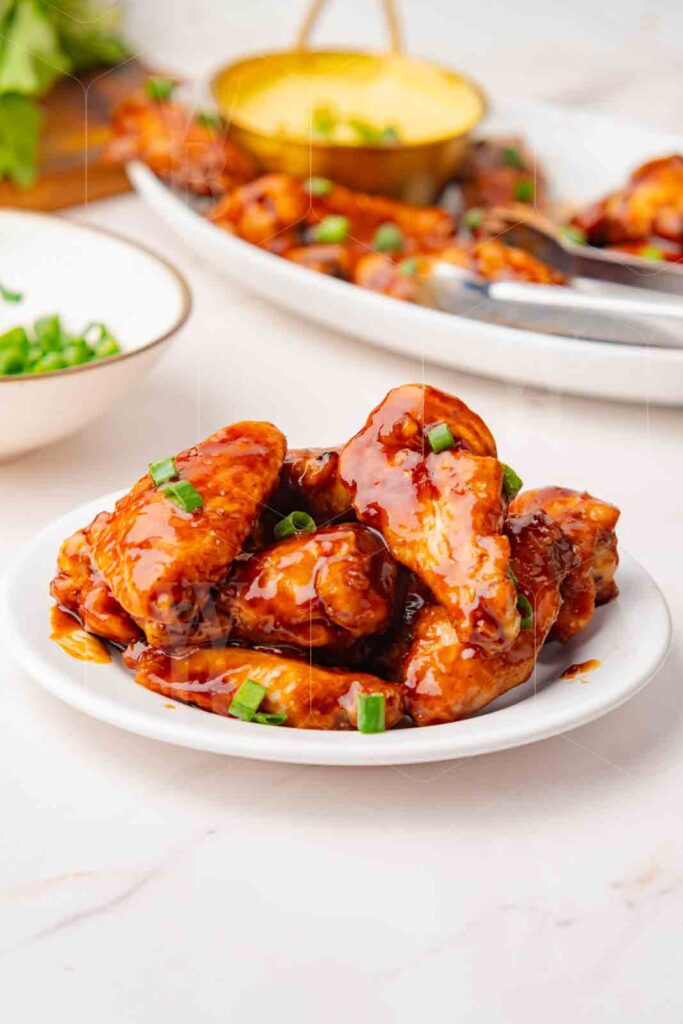
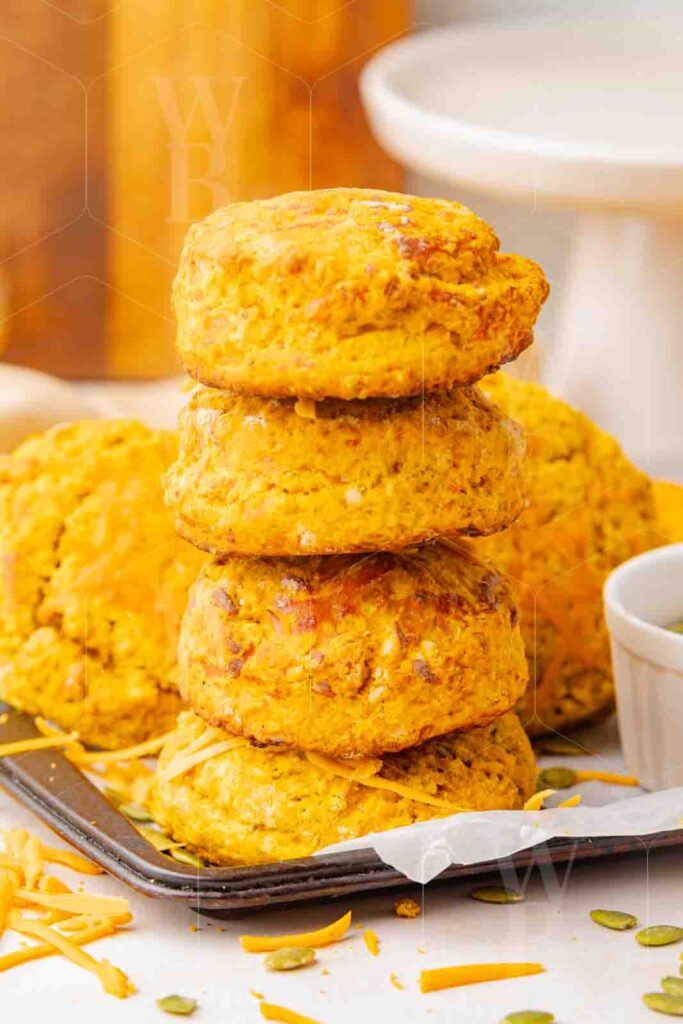
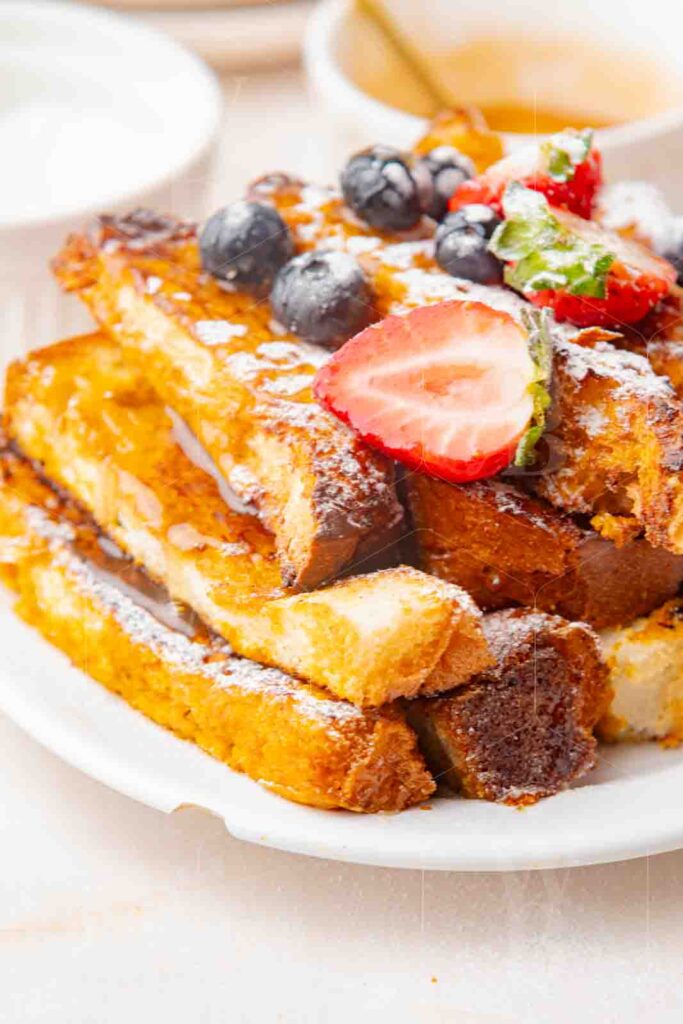
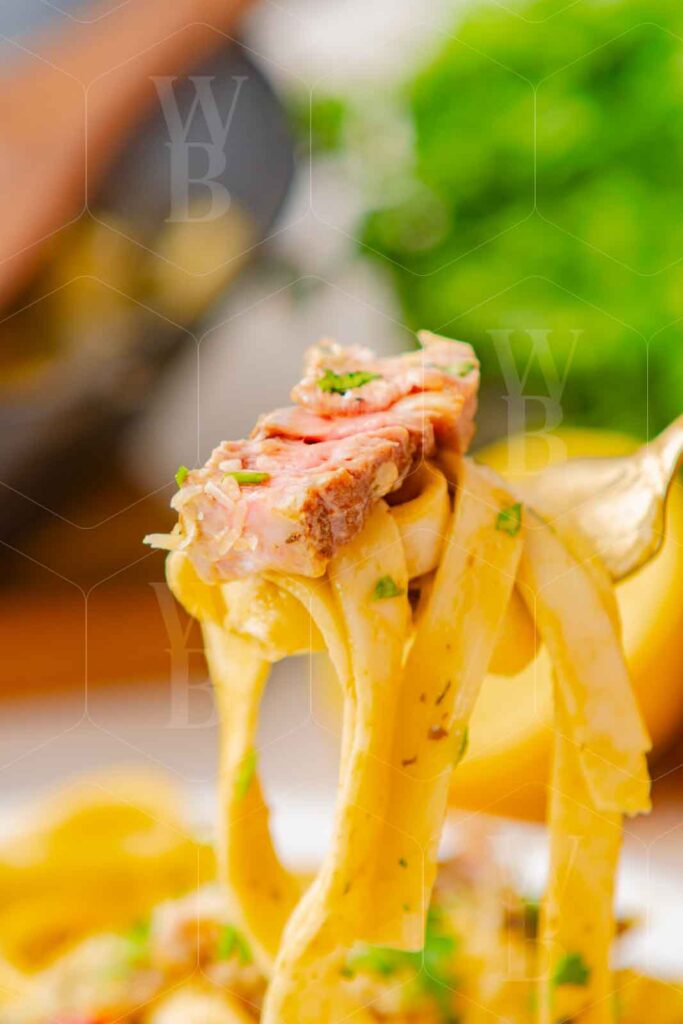
Shoot your main angles vertically (a 2:3 ratio works well for Pinterest) and capture at least a couple horizontally for the featured image and Discover.
Technique matters as much as the shot list. These are the settings we use on our own shoots, and the reasoning behind them, so you can adapt them to your gear.
We never shoot a recipe wider than f/5.6. Food is three-dimensional: a bowl has a near rim and a far rim, a burger has layers, a spread has dishes at different distances. At a wide aperture like f/2.8, only a thin slice of that is sharp and the rest goes soft in a way that reads as a mistake, not as style. At f/5.6 or narrower, the whole dish stays in focus.
The trade-off is that a narrower aperture lets in less light, so the exposure has to be balanced somewhere else, never by opening the aperture back up. With artificial light, raise the intensity of your lights. With natural light, raise the ISO.
DX and FX are Nikon’s names for crop-sensor and full-frame cameras. If you shoot another brand, think APS-C and full frame.
Use a single window as your only light source and turn off every lamp in the room. Mixed light sources give food a muddy color cast that’s hard to fix later. Side light or back light shows texture best. Soften harsh sun with a sheer curtain, and bounce a little light back into the shadow side with a white foam board.
If your camera allows it, shoot in RAW and set your white balance once at the start of the session. All of this costs very little and does more for the final image than any gear upgrade.
Pick one surface and one or two props and use them for the whole shoot, so the process and hero shots look like they belong together. Choose colors that contrast with the food instead of matching it, and add garnish last, since fresh herbs wilt fast.
Set up your framing and exposure with a spare plate before the real dish comes off the stove. Then shoot the hero shots first, while the food looks its best, and fill in the rest afterward.
A great photo can still hurt your post if the file is wrong. A quick checklist:
creamy-steak-pasta-hero.jpg, not IMG_4821.jpg).For the full setup, including filenames, alt text, and sizing, see our image SEO guide for food bloggers.
| Shot type | How many | What it does | Where it goes |
|---|---|---|---|
| Ingredient shot | 1 to 2 | Shows everything needed at a glance | Ingredients section, Pinterest pin |
| Process shots | 9 to 14 | Guides the cook and shows you made it | Step-by-step section, recipe card |
| Hero shots | 20+ shot, 3 to 5 used | Wins the click and sells the dish | Featured image, Pinterest, social, intro |
Putting these food photography tips into practice is a lot of work: planning, cooking, styling, shooting, culling, editing, and exporting, for every single recipe. If you’d rather spend that time writing and publishing, every set in our shop follows this exact structure, with ingredient, process, and hero shots plus a working recipe document. Each set is sold to one blogger only, so the photos never show up on anyone else’s site.
Skip the shoot
Browse exclusive recipe photo sets with the full ingredient, process, and hero shot structure already done.
Building out a whole topic instead of a single recipe? See how content clusters work.


Great taste! Keep these recipes fresh in your cart by entering your email below. We’ll even slip a special code into your inbox to sweeten the deal.